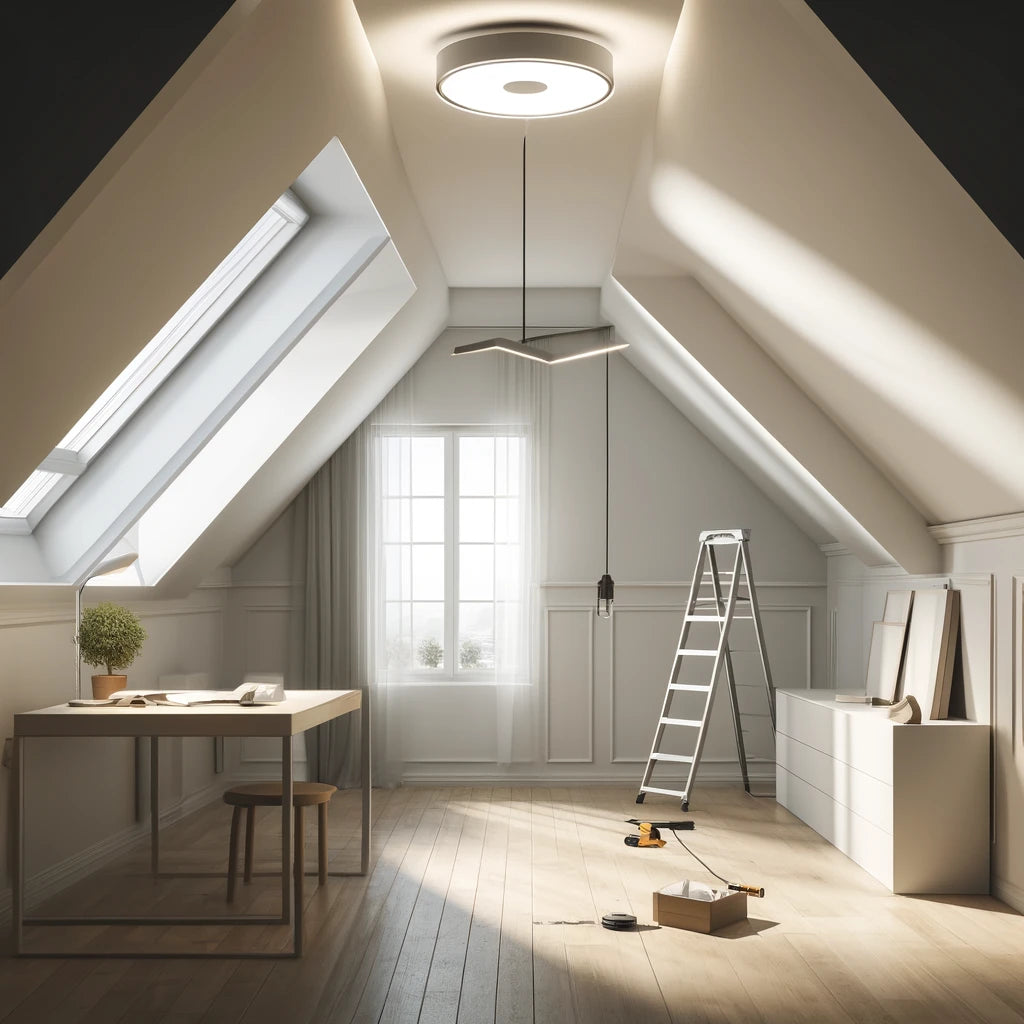
Installing a ceiling light on a slanted ceiling can seem like a daunting task, but with the right tools and techniques, it can be done effectively and safely. Whether you're updating your home's lighting or tackling a new build, here's a guide on how to install a ceiling light on an angled or sloped ceiling.
1. Choose the Right Type of Ceiling Light
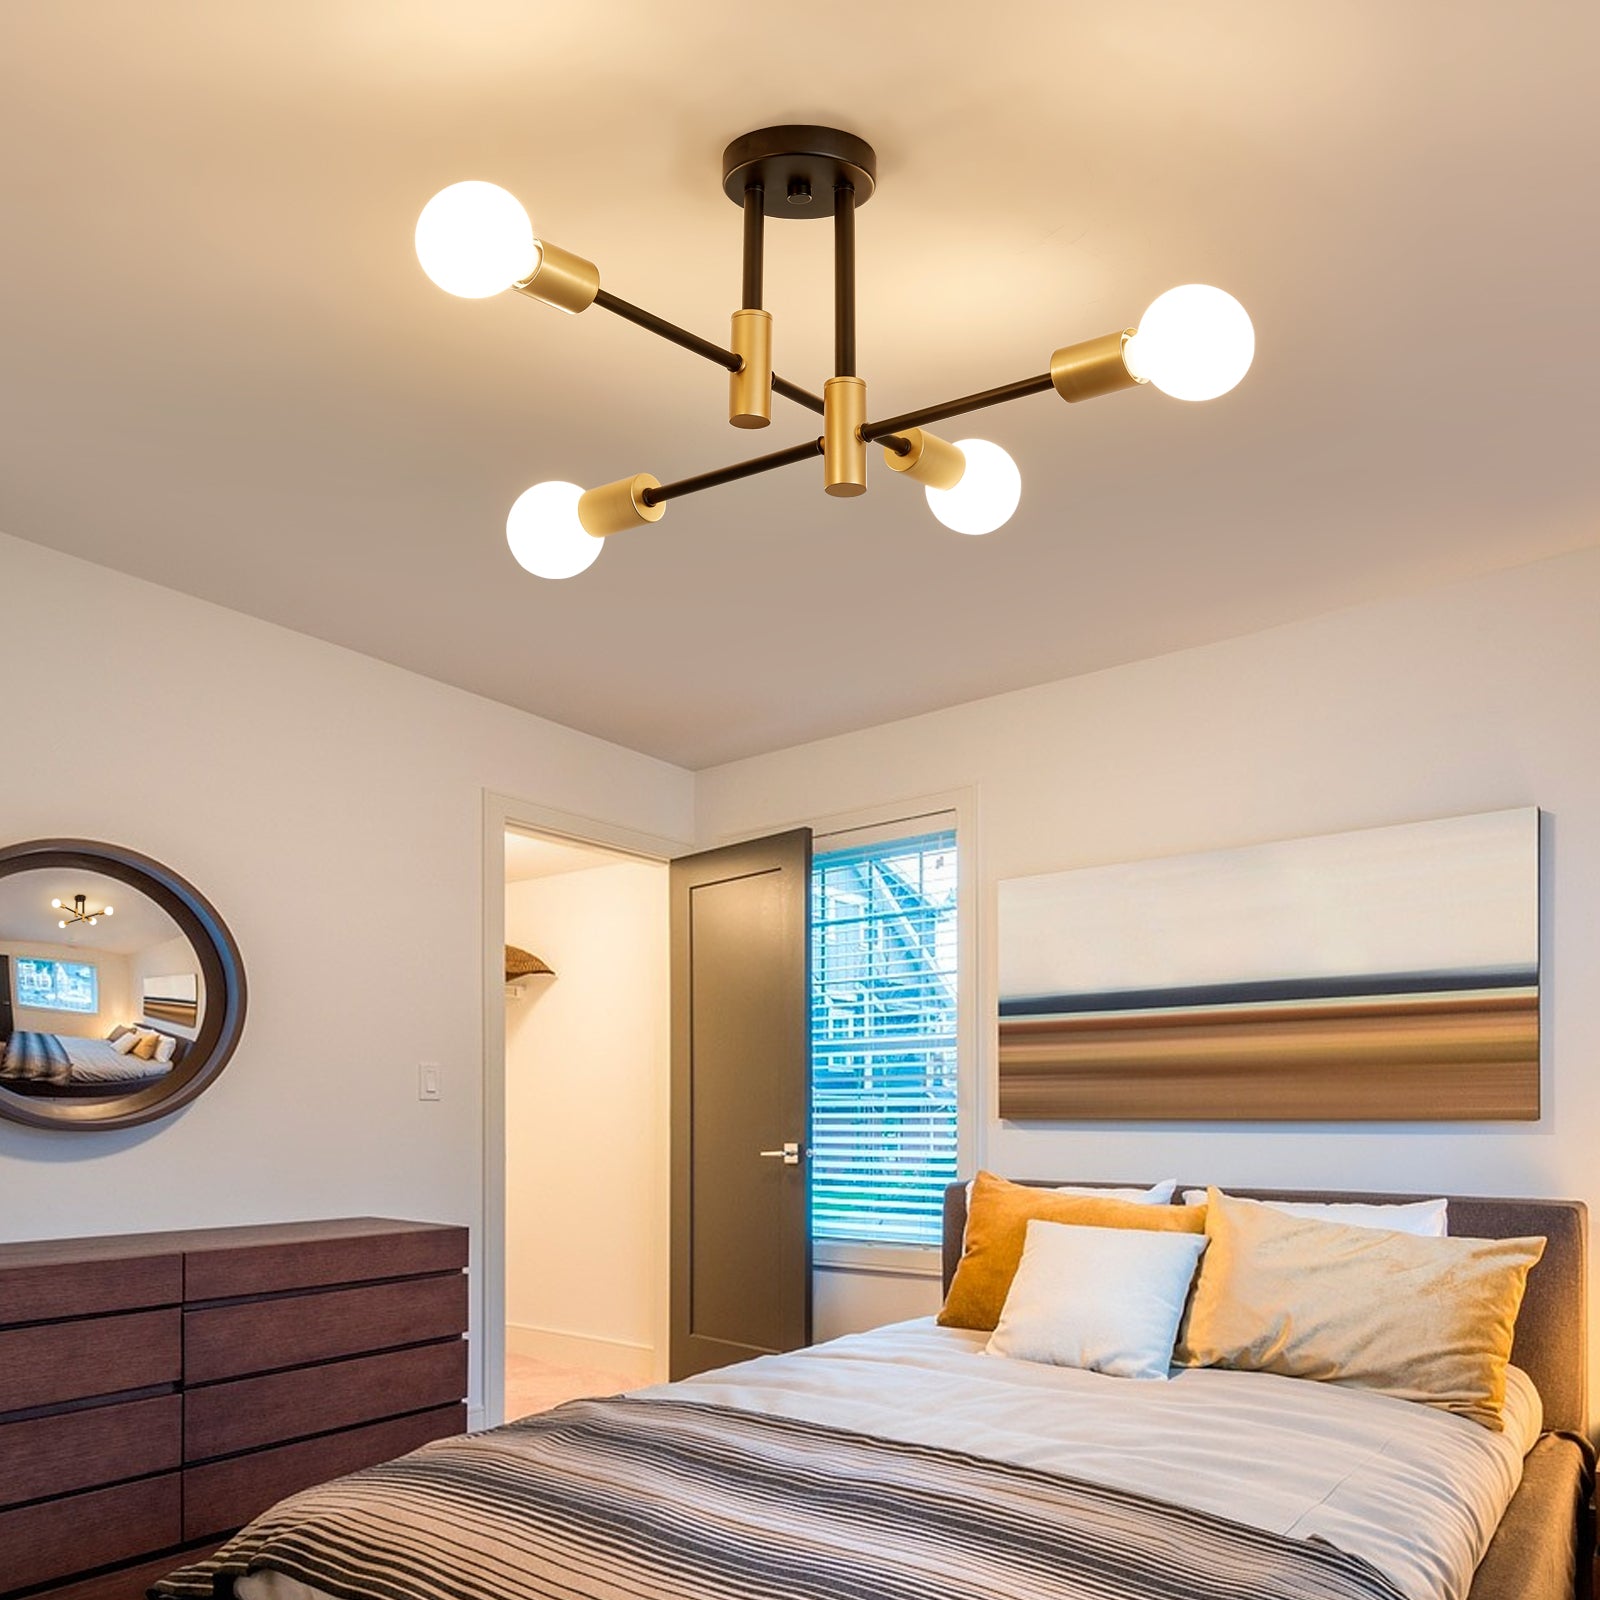
Before installation, it's crucial to select a light fixture that's designed for slanted ceilings. There are a few options to consider:
- Adjustable or Swivel-Mount Fixtures: These are designed to be versatile and can adapt to various ceiling angles. Look for fixtures with a swivel or pivot that allows the light to hang straight even on a slanted surface.
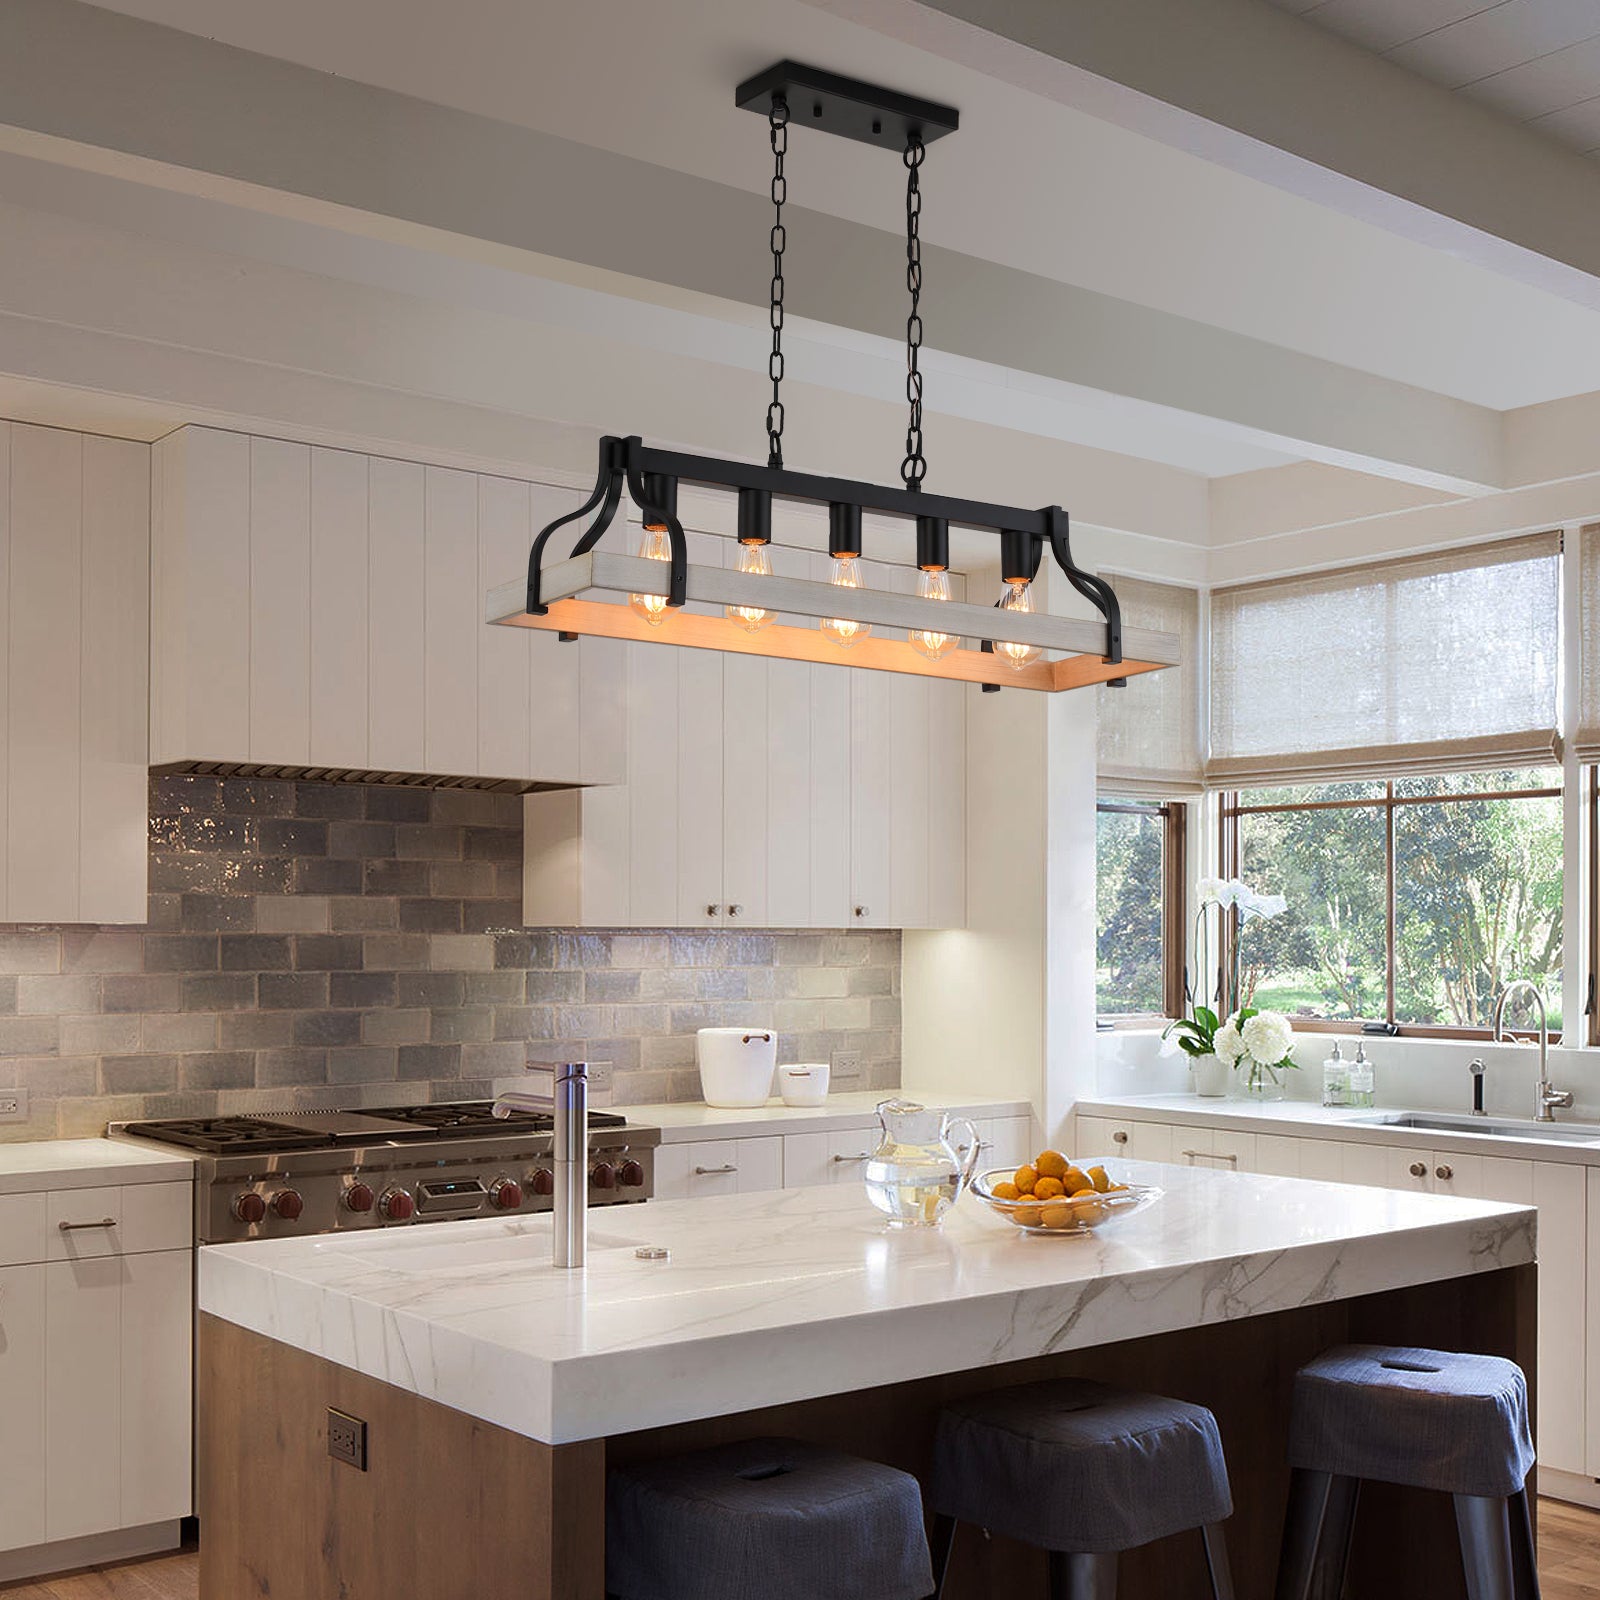
- Pendant Lights: Pendant lights are ideal for sloped ceilings because they naturally hang down, regardless of the angle. You can adjust the length of the cord or chain to achieve the desired height and look.
- Track Lighting: If you're looking for a modern and flexible option, track lighting works great on angled ceilings. The adjustable heads make it easy to direct light where it's needed.
2. Use a Sloped Ceiling Adapter
If you've already purchased a light fixture but it's not designed for slanted ceilings, you can still make it work with a sloped ceiling adapter. These adapters are easy to find and are used to modify standard ceiling light fixtures to fit on an angled ceiling. They adjust the angle of the fixture so it hangs straight down, providing a more professional and polished look.
3. Prepare Your Tools
Before you begin installation, make sure you have the right tools on hand:
- Ladder or step stool: Since you're working on an angled surface, having a stable and secure ladder is essential.
- Screwdriver: You'll need this to tighten the screws during installation.
- Voltage tester: Always test the electrical box before working on any lighting fixture to ensure it's safe.
- Wire nuts and electrical tape: These are used to connect and secure the wiring.
4. Turn Off the Power
Safety is key when working with electricity. Before doing any installation, always turn off the power to the circuit at the breaker box. Use a voltage tester to confirm that the power is off before touching any wiring.
5. Install the Light Fixture
Once you've gathered the right tools and ensured your light fixture is compatible with slanted ceilings, it's time to install:
- Step 1: Attach the mounting bracket to the ceiling electrical box. If you're using a sloped ceiling adapter, this is where you'll add it.
- Step 2: Connect the wiring. Follow the fixture’s instructions to connect the wires, typically matching the black wire to black, white to white, and ground to ground.
- Step 3: Secure the fixture. After wiring, secure the light fixture to the mounting bracket with screws.
- Step 4: Install the bulbs and any additional accessories.
6. Adjust and Test
Once the light is installed, make any necessary adjustments to ensure it hangs correctly. If you're using a pendant light or adjustable fixture, adjust the height and angle to your liking.
Finally, turn the power back on and test the light to ensure it's functioning properly.
Final Thoughts
Installing a ceiling light on a slanted ceiling doesn't have to be complicated. With the right light fixture, tools, and a bit of patience, you can achieve a stylish and functional lighting solution that works beautifully with your sloped ceilings. If you're ever unsure, don't hesitate to consult a professional electrician for assistance.



Leave a comment
This site is protected by hCaptcha and the hCaptcha Privacy Policy and Terms of Service apply.